What Are Hair Roots?
Are you looking for a way to hide those pesky hair roots in between salon visits? You’re not alone – root regrowth is a common struggle for people with dyed hair. Fortunately, there are some pro tips and tricks out there to help conceal your hair roots that are easy to do from the comfort of your own home. In this article, we will discuss what hair roots are, and how to cover them up between appointments, using temporary hair color, accessories, and highlighting techniques. Read on for all the details!
How to Cover Up Hair Roots Between Salon Visits
Let’s face it: for many of us, getting to the salon for regular root touch-ups is not always feasible. Whether you’re busy or simply on a budget, it can be hard to keep up with the salon’s schedule. But that doesn’t mean your hair roots have to show! With the right tips and tricks, you can keep your hair looking freshly dyed and vibrant between appointments.
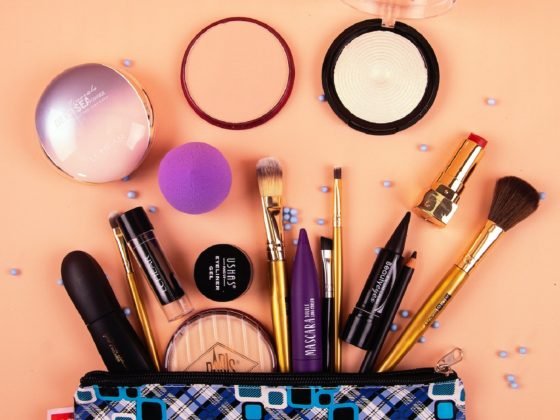
First, you’ll need to select the right product. Touch-up color markers are a great option as they can easily cover up stubborn gray hairs. They come in a variety of colors and are relatively inexpensive. A great tip is to find one that’s a shade lighter than your natural hair color—this will help the color look more even and natural.

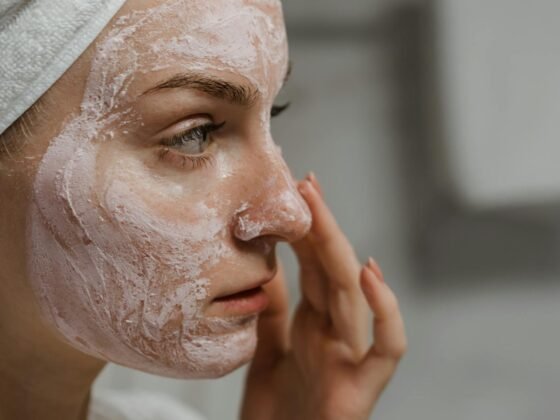
If you’re a brunette, powder is a great option to quickly and easily cover up your roots. Many brands make temporary hair-coloring powders that can be applied directly to the roots and blended in with a brush or your fingers. For blondes and redheads, a colored dry shampoo is also a great option. Just apply it directly to your roots and use a brush or your fingers to blend it in.
If you don’t want to use a product, there’s always the old-fashioned solution: headbands, hats, and scarves. These can help take attention away from your roots and give you a polished look.
These tips should help you hide your hair roots between salon visits. Remember, even though you can disguise your roots, it’s also important to take care of them to keep them healthy. Use a good conditioner, drink plenty of water, and do regular deep moisturizing treatments. With the right hair care and touch-ups, you can rock your new hair color between salon visits.
Using a Temporary Hair Color
If you want to cover up those pesky grays between hair appointments without making a huge change, using a temporary hair color product is a great way to go. Temporary hair color is perfect for anyone who wants to change their look without the commitment of a long-term hair color option. With so many different temporary color options available, you’re sure to find one that works for your hair.
Types of Temporary Hair Color
There are a few different types of temporary hair color available on the market. Here’s a quick breakdown of your options:
-Spray-on color: This type of temporary hair color is perfect for anyone looking for an easy-to-apply, quick fix. All you have to do is spray your hair with the color of your choice, and you’re good to go!
-Powders and chalks: If you’re looking for a more subtle approach to coloring your hair, powders and chalks are the way to go. Simply apply the color of your choice to your hair using an applicator, and you’re ready to rock a new look.
-Colored gels: Colored gels are great for anyone who wants to add a bit of color but doesn’t want to commit to a full-fledged, long-term hair color. The gel is easy to apply and dries quickly to give you some nice, temporary color.
Applying Temporary Hair Color
Regardless of the type of hair color you’re using, the actual application process is fairly similar. Here’s a step-by-step guide on how to easily apply temporary hair color:
-Start off by washing your hair with a gentle shampoo and conditioner.
-Towel dry your hair and comb it out.
-Apply the temporary hair color to your hair using an applicator or your hands.
-Allow the color to sit for the recommended amount of time before wiping it off with a damp cloth.
-Style your hair as desired and enjoy your new look!
Pro Tips for Using Temporary Hair Color
When it comes to using temporary hair color, there are a few tips and tricks that you should keep in mind. Here are some of our top pro tips for using temporary hair color:
-Be sure to read the instructions carefully and follow them to a T.
-Be sure to do a patch test on a small section of your hair to make sure you don’t have an adverse reaction to the color.
-If you’re using a spray-on color, be sure to hold the can at least 6 inches away from your head.
-Be sure to shampoo your hair with a clarifying shampoo after each use to remove all traces of the temporary hair color.
Using Accessories
If you’re like most people, you dread the thought of visible roots in between hair appointments. It’s one of the most common beauty blunders out there, and one that all of us would rather avoid. Fortunately, hiding those pesky roots has never been easier, and today we’re here to give you some of our best pro tips on how to maintain your hair color and hide those roots in between salon trips.

One of the most common methods for hiding roots is to use hair accessories. Hats, headbands, scarves, and even hats made from natural materials, like straw, can all be used to help conceal those unwanted roots. Of course, you’ll want to make sure to choose accessories that don’t clash too much with your overall look. Choosing neutral colors and small patterns is a great way to make sure your outfits look good together. Additionally, if you have a lot of texture in your hair, you can use accessories like scrunchies to tie it back and create a more polished look.
For those of us with shorter hairstyles, we can take advantage of the barrettes and clips trend. Some of the bigger and bolder clips can instantly transform a shorter hairstyle while still concealing roots. Clips also tend to work better on thicker hair, so if you have a fine mane, opt for accessories like headbands instead.
Speaking of headbands, they are definitely one of the most versatile accessories around. Not only are they great for hiding your roots, but you can also choose ones with sparkly details or bold patterns to add some style to your look. Plus, headbands look great on most hairstyles, so you can’t really go wrong with this one.
And, of course, you can’t talk about hair accessories without talking about the ever-popular hat. Whether you choose to go for a classic fedora style, a fisherman’s cap, a beanie, or a beret, you’ll be sure to find a style that suits your look. Not to mention, they’re great for hiding those roots in between hair appointments.
Ultimately, there are plenty of ways to hide your roots in between salon visits. Whether you opt for hats, headbands, clips, or any other type of accessory, you’ll be sure to find a look that works for you. So don’t be afraid to experiment and have some fun with it!
Applying Highlighting Techniques

If you love to rock highlights but hate the wait between hair appointments, there’s no need to worry! With the right highlighting techniques, you can master the art of camouflage and stretch out your roots until your next visit to the salon.
The first and most important thing to consider when trying to hide your roots is the types of products you use. It is best to use a lighter color than your actual hair color to increase the contrast between the darker roots and the lighter highlights. Look for products that have wax in them, especially ones that are made to bring out highlights and hide roots. These will help blend the dark and the light, creating a natural, seamless look.
When you’re ready to start highlighting, make sure you have some sectioning clips and a rat-tail comb handy. Using the comb, separate your hair into small sections, then clip each section apart. Working in small sections is key for a natural-looking finish.
Now you’re ready to apply the highlighting products. Using a highlighting brush, apply the product from the root of the hair and move it outwards towards the ends. If you aren’t sure where to start, use the small sections of hair you’ve already separated. Apply the product in the same way you would a traditional highlight; only avoid going too close to the scalp. Doing so can cause the product to become greasy and make your roots more obvious.
Once you’re finished applying the product, you can use a blow dryer to speed up the drying process. Applying heat will also help the product penetrate the hair more deeply and ensure a longer-lasting effect.
Finally, don’t forget to shampoo and condition your hair once you’re finished highlighting. A good clarifying shampoo will help remove any excess product from the hair and prevent it from looking dull.
With these pro tips in mind, you’ll be able to keep your highlights looking fresh between appointments. So go ahead and enjoy the flexibility of a longer-lasting highlight!