Face contouring is considered the holy grail of makeup looks. It can help you achieve a more polished and ‘done’ look, and can even make your features appear more defined. But if you’re new to contouring, it can be challenging to achieve the perfect look.
This article will discuss an easy step-by-step guide on how to contour your face with easy-to-follow techniques. You’ll learn about the tools needed, and the application steps, and fortunately, you’ll get the look you want in no time!
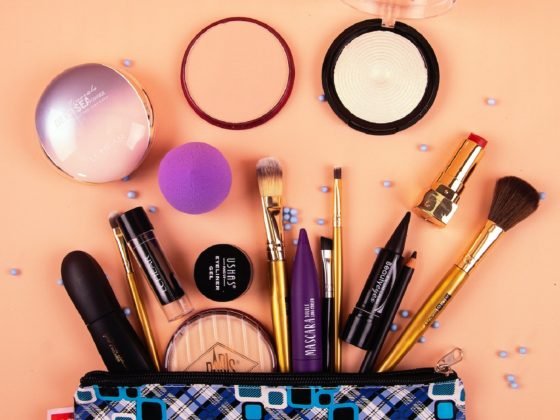
Tools for Contouring

When it comes to face contouring, the right tools can make all the difference! Here are a few products you won’t want to be without when you’re looking to achieve that perfect look.
First, you’ll need a good foundation brush. Look for one with a dense, flat brush head that will allow you to evenly spread your product and achieve a flawless finish. Make sure you have a few different brush sizes so you can easily apply the product to both large and small areas.
Next, you’ll want to grab a contouring brush. Go for one that’s slightly tapered, so you can easily apply highlighter and shading products and blend them together to create a sculpted look.
Finally, don’t forget to pick up a small, fluffy brush that you can use to blend and soften your application. This will take your look from dramatic to subtle in no time!
To finish, make sure you have a trusty hand mirror. This will come in handy when you’re checking your work and making sure you’ve got that perfect, contoured look!
Beauty Blender
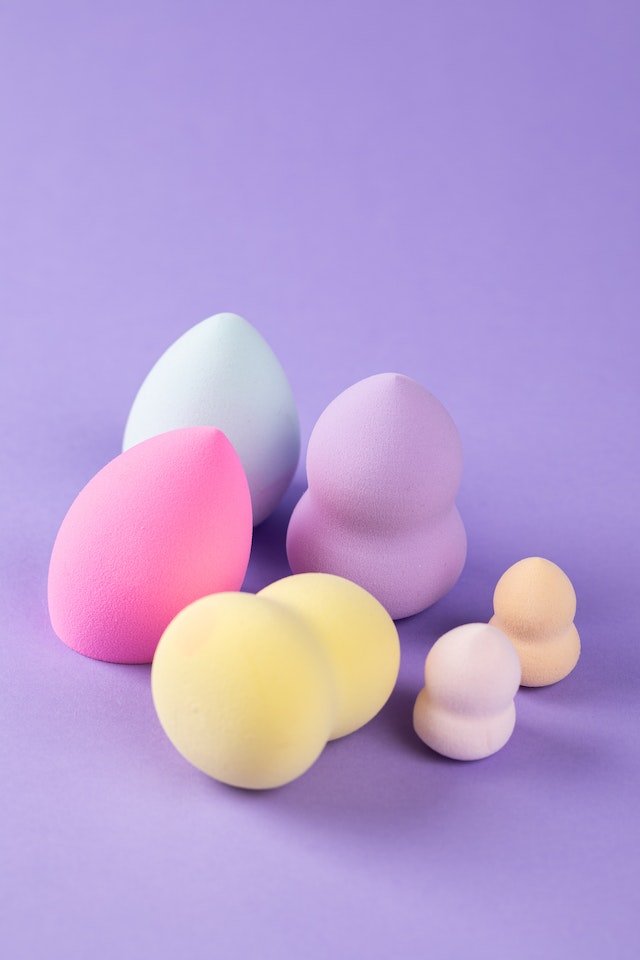
is an essential tool for achieving that highly sought-after contoured look. Not only does it provide an even layer of makeup, but it also helps blend the contour into the skin for a natural finish. To use the Beauty Blender, start by soaking it in water and then gently pressing out any excess. When damp, apply a few dots of contour cream or powder onto the areas of your face that you’d like contoured. Then use the Beauty Blender to blend the product in, focusing on the perimeter of the areas being contoured. With a few simple strokes, your contoured face will be ready to shine!
Contour Brush
When it comes to face contouring, one of the most important tools in your arsenal is a good contour brush. This specially designed brush can help you sculpt and chisel your features as if you’re a master craftsman of your own face! To get the most out of your contour brush, make sure it’s the right size for your facial features and has a soft, dome-shaped head that won’t damage your skin. With a quality contour brush, you’ll be left with a smooth, natural-looking finish that will make all your contour dreams come true.
Angled Blush Brush
Any experienced makeup artist will tell you that an angled blush brush is indispensable to achieving a flawless face contour. After prepping your face with foundation and powder, reach for your angled blush brush and start to define your features. Nothing will give you a more perfect contour than the precision of an angled brush. With gentle, sweeping motions, bring the brush along your cheekbones, hairline, and jawline. Your angled blush brush should be subtle, as you are looking for a natural definition. Playing around with the brush and product until you find the correct balance of intensity is key. Keep in mind that you can always add more product with a lighter hand, but it is much harder to tone it down. When you’re done, you can step back and marvel at your own handy work!
Application Steps
Achieving the perfect contoured face doesn’t have to be a complicated process. With the right products and these easy application steps, you’ll be looking like a bronze goddess in no time.
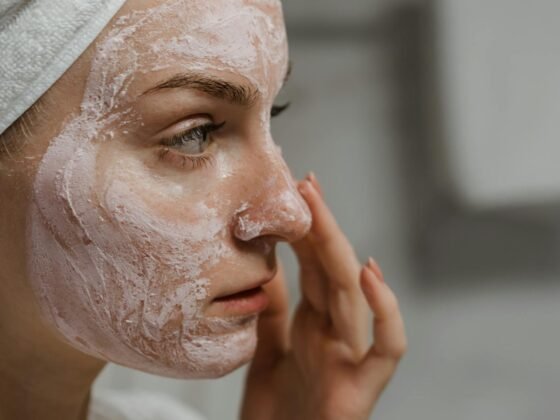
Step 1: Prep Your Skin
The first step to achieving the perfect contoured face is getting the canvas ready! Start by washing your face with warm water, which will open up your pores and allow the products to better penetrate your skin. After, follow up with a mild cleanser and toner to leave your face feeling refreshed and hydrated. Be sure to moisturize afterwards to get the perfect base for your contouring. Once complete, you are ready to start sculpting your dream look.
Step 2: Apply Your Foundation
Moving onto step two, take your favorite foundation and start applying it to your face. If you’re looking for a more subtle look, opt for a lighter coverage; if you want a more intensive look, go for something heavier. Make sure to blend the foundation into your neck and hairline for a seamless and polished finish. Check a few mirrors to make sure you don’t miss any patches – you don’t want to end up with an uneven complexion!
Step 3: Conceal Your Dark Areas
Concealing your dark areas is an important part of achieving face contouring! By using a concealer palette and a few simple techniques, you can easily hide any imperfections and distractions that could be ruining your look.
Start by picking out a good concealer palette that matches your skin tone. Keep in mind that the colour should be slightly lighter than your own natural skin tone. This will help create a brightening effect and give you a more defined and contoured look.
Next, apply the concealer to any dark spots or areas that you want to cover up. Make sure to blend the concealer carefully and evenly, using light and gentle strokes. This will help create a natural-looking and seamless finish.
Finally, use a damp beauty sponge to lightly press the concealer into your skin. This will help melt the product into your skin for a flawless and polished look.
Now you can reveal gorgeous, glowing skin with these simple yet effective face contouring techniques!
Step 4: Contour Your Cheeks
If your goal is to add more definition to your face, contouring your cheeks can help you achieve the perfect look. The key to contouring your cheeks is to create an S-shape shadow on each side of your face. Start by adding a cream or powder contour to the hollows of your cheeks. Blend the contour formula outward towards your ears and then upward towards your temples. Finish off the look by adding a shimmery highlight to the high points of your cheekbones. Voila! You’ve got yourself a perfectly contoured face.
Step 5: Highlight Your Cheeks

We’ve come to the final step of face contouring – highlighting! Give your cheekbones a glow-up with a liquid highlighter of your choice. All you have to do is dot the product along your cheekbones, then blend it out with a sponge or brush in an upward, outward motion. Voila, your cheekbones are looking poppin’ and you’re ready to take on the day. Feel the shimmer, see the glow – it’s simply amazing!
Step 6: Blush The Cheeks For A Natural Flush
It’s the home stretch! Now that your contouring is complete, you can give your cheeks a natural flush of color with a light dusting of blush. Start at the apples of your cheeks, then blend outward towards your temples. You only need a small amount—just a few strokes of the brush are all that’s necessary to bring a hint of color to your cheeks! Once you’ve applied the blush, you can step back to admire your new look. You just created a beautifully contoured face with minimal effort—nice work!
Conclusion
Congratulations! Now that you have mastered the art of face contouring, you are now ready to flaunt your look to the world. You no longer have to worry about looking dull or tired, as you can always count on your contouring skills to give you a fresh and lively look. With just a few simple steps, you can take your look from basic to bold and creative. Not only that, but you can also get creative with the shades, angles, and effects of contouring to make your look as unique as possible! So go ahead and start contouring for the perfect and creative look you desire!